

Create a User
Start by creating a user account on the UniVoxx portal for the end user that will be utilizing this eFax. See the Create a New User article.
Make sure to select the user role “Basic User.”
Creating/Editing eFax Mailboxes
The Fax Mailbox page is used to create and manage E-faxes.
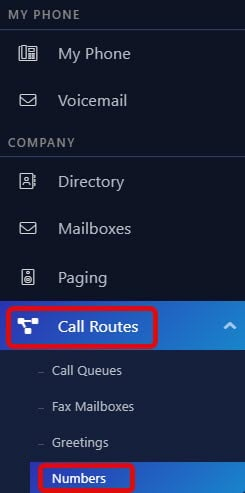
- Navigate to the ‘Fax Mailboxes’ from the ‘Call Routes’ sub menu.
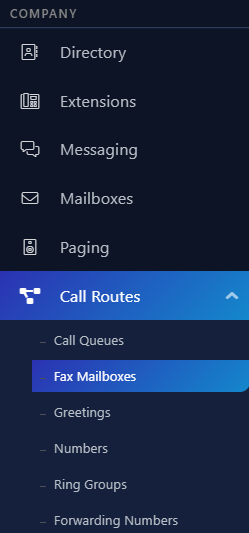
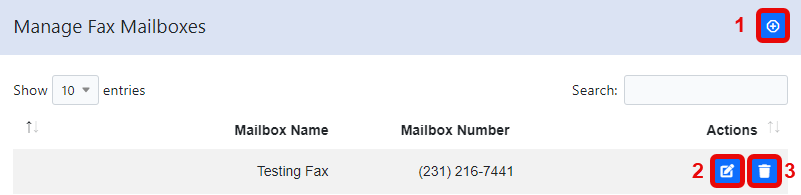
- Listed below are the available options on this page.
1 - Create a new Fax Mailbox.
2 - Edit an existing Fax Mailbox.
3 - Delete an existing Fax Mailbox.
Creating a New E-Fax
- Select the ‘Plus’ button on the ‘Manage Fax Mailboxes’ page.
- Fill out all the required information. A maximum of 15 users can be assigned to a mailbox.
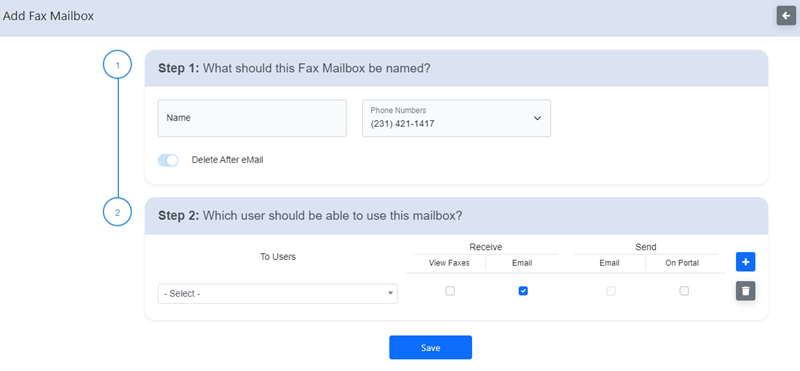
- Click ‘Save’.
Editing an Existing Fax Mailbox
- Select the ‘Edit’ button next to the mailbox that you want to edit.
- Edit any relevant information.
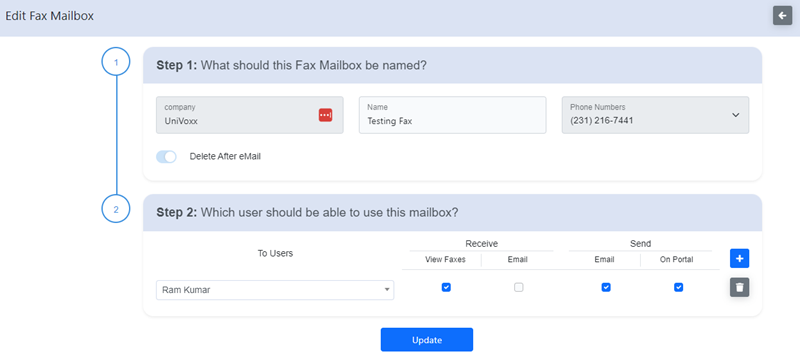
- Click ‘Update’.
Route and Enable the eFax Number
- Navigate to the 'Numbers' section of the portal.
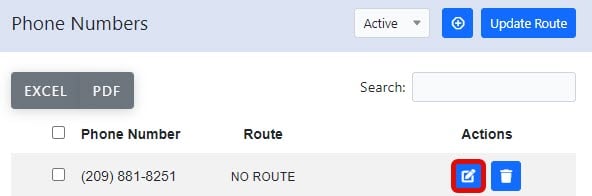
- Edit the phone number that will be used for this eFax.
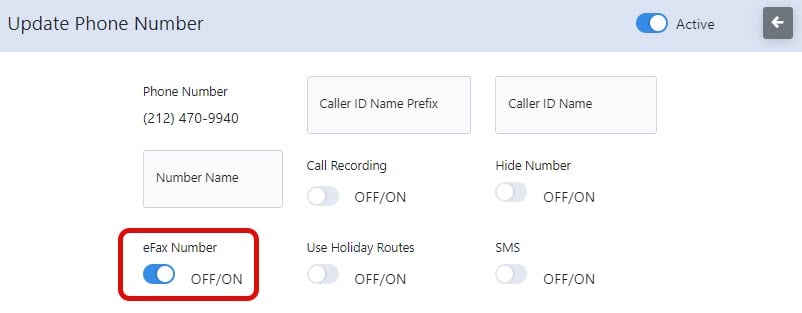
- Enable the switch for the option labeled “eFax Number.”
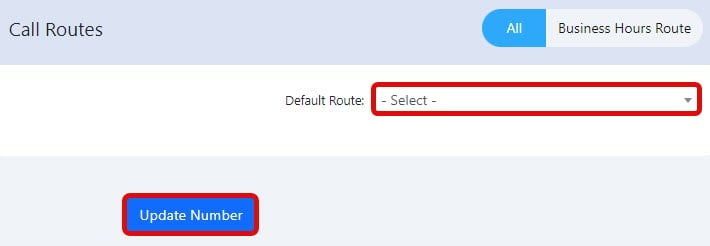
- Route the number to the eFax mailbox, then select “Update.”
Still stuck?
This is the general version of this guide. Sign in to the customer portal for guides written for your system, deeper troubleshooting and your support history, or reach our team directly.